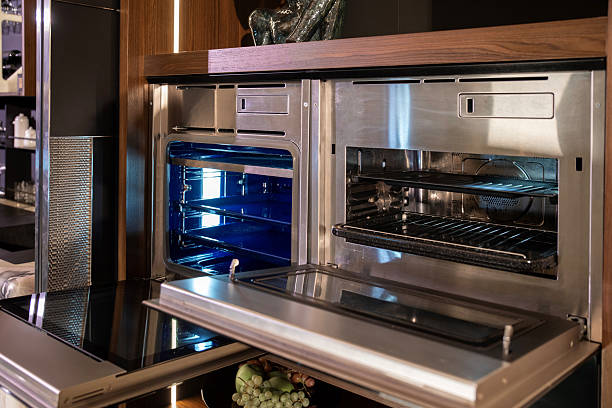
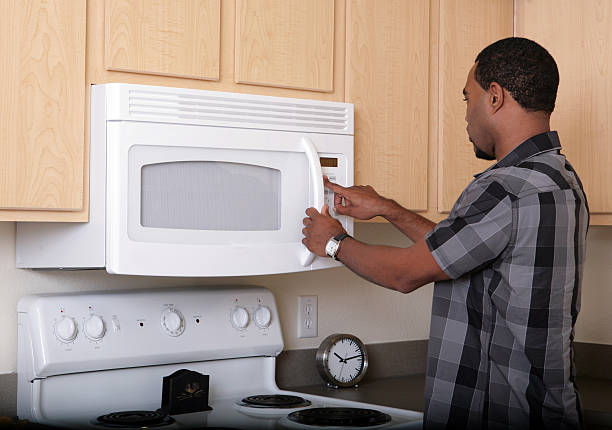
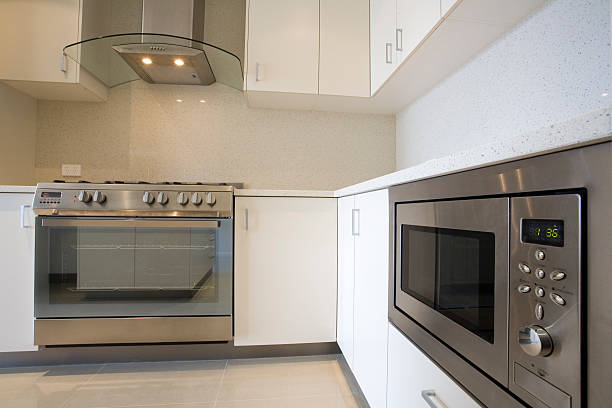
Are you thinking about how to install an over-the-range microwave to save counter space and keep your kitchen looking clean? The main steps are simple: measure the space, attach the wall bracket to the studs, lift the microwave with a helper, secure it to the top cabinet, and plug it in. This type of microwave installation also helps improve kitchen ventilation by removing cooking steam and odors through a built-in fan.
While the process may look easy, one small mistake in drilling, venting, or wiring can cause safety problems or damage your appliance. That’s why many homeowners trust Appliance Installation Experts for safe and professional OTR microwave installation.
If you want to make sure every part of your installation is done safely and correctly, explore this complete step-by-step guide filled with expert tips and practical advice for hanging a microwave over the stove, whether you’re replacing an old unit or setting up a new one.
Phase 1: Preparation, Measurement, and Safety
Before you start installing an overhead microwave, always make sure to stay safe.
- Unplug the range and turn off the power at the breaker.
- Gather the right tools: a drill, stud finder, level, mounting bracket, and screws.
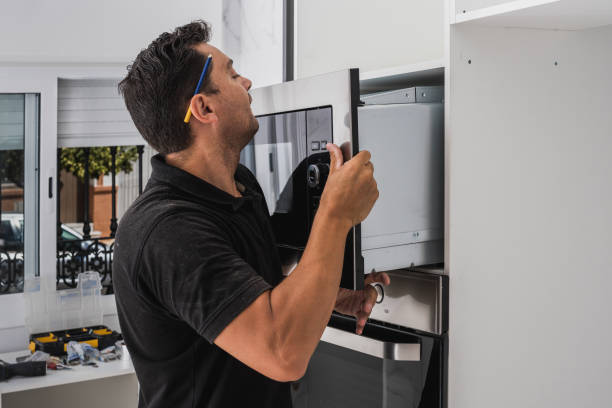
- If you’re replacing a microwave above the stove, carefully remove the old one by unscrewing the top bolts from the cabinet, then lift it off the wall bracket.
Next, take your measurements. Leave about 16–18 inches of clearance between the stove and the bottom of the microwave. Use the manufacturer’s wall and cabinet templates to mark where your new unit will go. This step ensures your new microwave oven over-the-range installation fits perfectly.
Need help removing or installing a microwave above the stove? Our technicians at Appliance Installation Experts handle full microwave replacement and installation services safely and efficiently.
Phase 2: Mounting and Securing Your Microwave

Now, let’s talk about how to mount a microwave over the stove safely.
Find Support
Use a stud finder to locate studs in your wall. Your mounting over-the-range microwave bracket must attach to at least one stud to hold the weight securely.
Attach the Mounting Bracket
Tape your wall template in place and check if it’s level. Drill your holes, then fasten the mounting plate using screws and toggle bolts. This step gives your microwave a strong base.
Prepare the Upper Cabinet
Use the cabinet template to mark holes for the top bolts and the power cord. This will make it easier to hang the microwave later.
If you’re installing a microwave over an oven or replacing an OTR microwave, this step ensures everything lines up correctly.
Phase 3: Ventilation and Power Setup
A big part of microwave range hood installation is getting the vent right.
There are two main types of vents:
- Ducted venting: Sends air outside.
- Ductless venting: Recirculates air through filters inside the kitchen.
If you’re not sure how to install a microwave over-the-range with a vent, check your microwave manual. You may need to rotate the fan to change direction. Always install the vent damper properly to avoid airflow blockage.
Next, check the electrical connection. Make sure there’s a working outlet inside the cabinet. If not, a licensed technician can install a microwave outlet in the cabinet for you. Feed the power cord through the hole so it’s ready for the final lift.
Want to avoid electrical or venting problems? Call Appliance Installation Experts, we’re local experts in microwave hood fan installation and OTR microwave setup.
Phase 4: The Final Lift and Test
This part usually takes two people. Carefully lift and hang the microwave onto the lower tabs of the mounting bracket. As you tilt it up, guide the power cord through the cabinet hole.
From inside the cabinet, insert and tighten the top bolts. Make sure your microwave is level and snug against the wall. Once everything feels secure, plug in the unit and test:
- Try the light
- Run the fan
- Test the microwave cooking function
If everything works perfectly, congratulations, you just learned how to install a microwave over the stove safely!
Call the Experts for a Perfect Fit
Installing or replacing a microwave above the stove takes patience, strength, and precision. One small error in mounting over-the-range microwave ovens can cause damage or electrical hazards.
If you’re not fully confident or simply want it done right, let Appliance Installation Experts handle it. We offer fast, reliable, and affordable microwave installation services for all brands GE, Whirlpool, Samsung, LG, and more.
Call us today for professional over-the-range microwave installation and enjoy a safe, perfect fit every time. Contact us now to schedule your microwave over-the-range installation and get your kitchen looking neat, modern, and safe again.