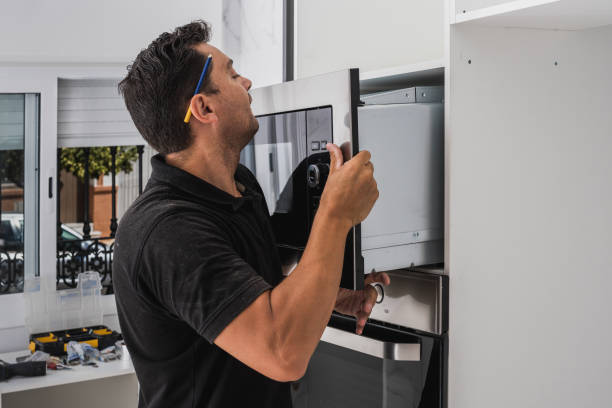
Putting in an over-the-range microwave may seem challenging, particularly in case you are neither an electrician nor a contractor. However, in case you have ever been bothered about how to install over-the-range microwave units without consulting a professional, then you landed on the right page.
Regardless of whether you are changing an older model of over-the-range microwave oven or putting a newer one in a newly remodeled kitchen, this step-by-step guide will lead you through the whole process. In addition, we shall define the distinction between the ductless and vented microwave/ hood combos, assisting in selecting the most appropriate one and discussing some of the most frequently encountered issues.
So, enjoy everything that you should be aware of when it comes to installing an over-the-range microwave.
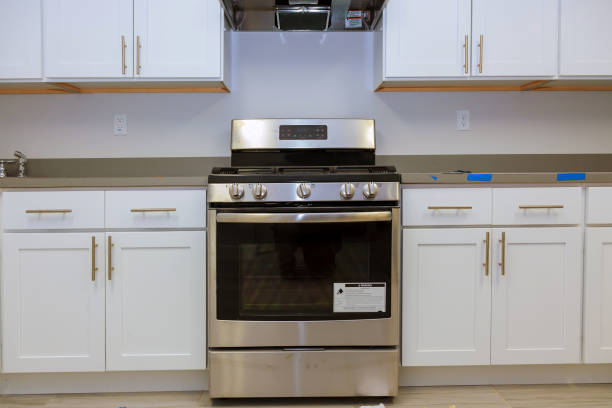
What Is an Over-the-Range Microwave and Why Install One?
An over-the-range microwave (OTR) is fitted to sit above your stove. It integrates combinations of microwave cooking and a built-in exhaust fan, which saves you space on the countertop and enhances kitchen ventilation.
Convection-type over-the-range microwaves are more popular with homeowners who want to be able to cook faster, or homeowners who want microwaves that are stainless steel OTR microwaves, black stainless, or white OTR microwaves to match their kitchen appliances.
At My Appliances Expert, we often recommend this type of microwave for those doing a kitchen remodel in Weston, FL, or looking for space-saving microwave solutions.
Step-by-Step Guide: How to Install an Over-the-Range Microwave
Step 1: Understand the Electrical Requirements for an Over-the-Range Microwave
Ensure that your kitchen has the right outlet beforehand. The largest OTR units have their 120V line and also the units must maintain a 1000 or more on the microwave.
Step 2: Gather the Right Tools for Microwave Installation (OTR)
You’ll need basic tools such as:
- Drill
- Level
- Stud finder
- Measuring tape
- Mounting bolts for OTR microwave
- Venting kit for OTR microwave (if ducted)
Also, don’t forget the drilling template for the OTR microwave that typically comes in the box.
Step 3: Measure and Mark the Mounting Area
Use the OTR microwave dimensions guide in your user manual to mark the wall. Place the OTR microwave wall plate where the unit will hang. Always check for studs to ensure solid support for the over-the-range microwave.
Step 4: Install the Wall Plate and Upper Cabinet Template
Secure the mounting bracket on the wall and mark screw holes in the upper cabinet using the template. This is where the top of your microwave will anchor. Be sure to double-check alignment using a level.
Step 5: Decide on Ventilation Options – Ducted vs. Ductless
Do you want to vent the air outside or recirculate it back into the kitchen?
- Ducted OTR Microwaves: These push air through a wall or ceiling vent.
- Ductless over-the-range microwaves: Use a charcoal filter microwave (OTR) system to trap odors before recirculating air.
If you’re not sure, contact us at My Appliances Expert to find out which ventilation options an over-the-range microwave models are best for your setup.
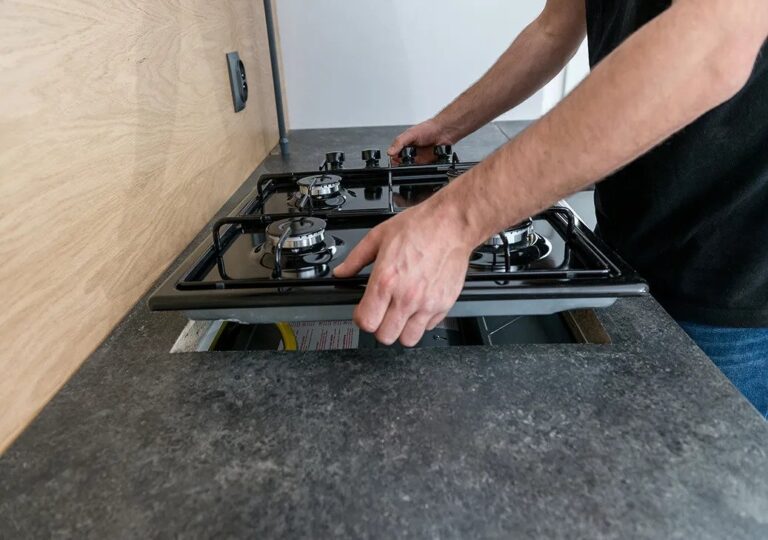
Step 6: Mount the Microwave Above the Stove
This part requires two people. Lift and hook the microwave onto the wall bracket. Then, secure the top screws from inside the upper cabinet using mounting bolts for the OTR microwave.
Be sure to align the microwave with the exhaust fan to the wall or ducting connection before tightening.
Replacing an Old Microwave? Here’s What to Know
In case you are thinking of replacing over-the-range microwave units and not undertaking a new installation, it is usually simple. But make sure that the OTR microwave mounting bracket and wall plate are compatible. New models may need new hardware.
Common Problems and Maintenance Tips
Over-the-Range Microwave Not Working?
Head to your circuit breaker and outlet before running into a panic. It is usually caused by poor wiring or a power surge. To find local assistance, contact the microwave appliance repair Weston FL guys at My Appliances Expert.
Microwave Fan Not Working (OTR)?
Check the fan motor and filters. Sometimes the charcoal filter microwave (OTR) needs replacing.
OTR Microwave Light Replacement
Bulbs often burn out. You can easily swap them by removing the light cover below the unit.
Microwave Making Noise (OTR)?
Strange sounds can be caused by a loose fan blade or internal component. When you are in Weston FL, give Emergency Microwave Repair Weston FL a call so that you can be serviced within a short time.
Cleaning and Maintenance: Keeping Your Microwave in Top Shape
- Wipe down interiors after use
- Remove and clean grease filters monthly
- Replace charcoal filters every 6 months
- Clean the exterior with a damp cloth to maintain your black stainless an over-the-range microwave or stainless finish
For best results, schedule regular inspections through My Appliances Expert, your trusted Weston FL appliance service OTR microwave provider.
Built-in Alternatives: What If You Don’t Want OTR?
If you’re remodeling your kitchen and want something different, consider:
- Microwave drawer Weston FL
- Under cabinet microwave Weston FL
- Built-in microwave Weston FL (custom cabinetry required)
Local kitchen designers Weston FL can help you integrate appliances in a way that saves space and looks great.
Conclusion
With an Over-the-Range Microwave, installation does not have to be stressful. It can be a DIY project, but you can also rely on local experts. For fast, affordable service or expert installation in Weston, FL, trust My Appliances Expert. Contact us today to get your OTR microwave mounted and running in no time!
FAQs
How long does it take to install an over-the-range microwave?
Typically, it takes 1–2 hours with the right tools and an extra pair of hands.
Can I install a microwave above the stove myself?
Yes, many homeowners complete DIY OTR microwave installation successfully, but always follow safety and manufacturer instructions.
What are the OTR microwave electrical requirements?
Most require a 120V grounded outlet and a dedicated 15 or 20-amp circuit.